amCharts 4 allows automatically adding element-specific class attributes to its SVG elements for easy targeting via CSS selectors. This tutorial explains how to enable and use them.
Enabling class names
By default, when chart is generating SVG elements, no class attributes are added to it's element.
Let's take a simple Line series with bullets:
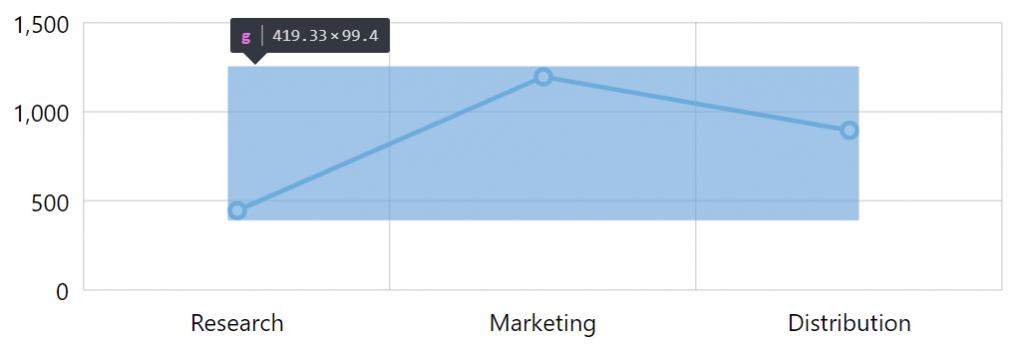
The SVG corresponds to the bullets of our Line series.
To enable class names, we need to set a global autoSetClassName setting. It cannot be set per-chart basis.
am4core.options.autoSetClassName = true;
am4core.options.autoSetClassName = true;
IMPORTANT Note, this setting must be set before any chart is instantiated. Setting it afterwards will not make all existing charts apply class names to their elements.
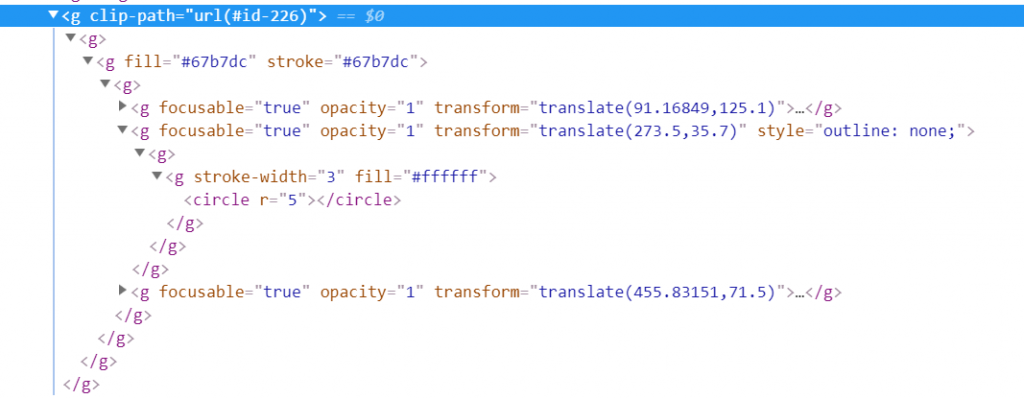
Let's see how this setting affects our resulting SVG:
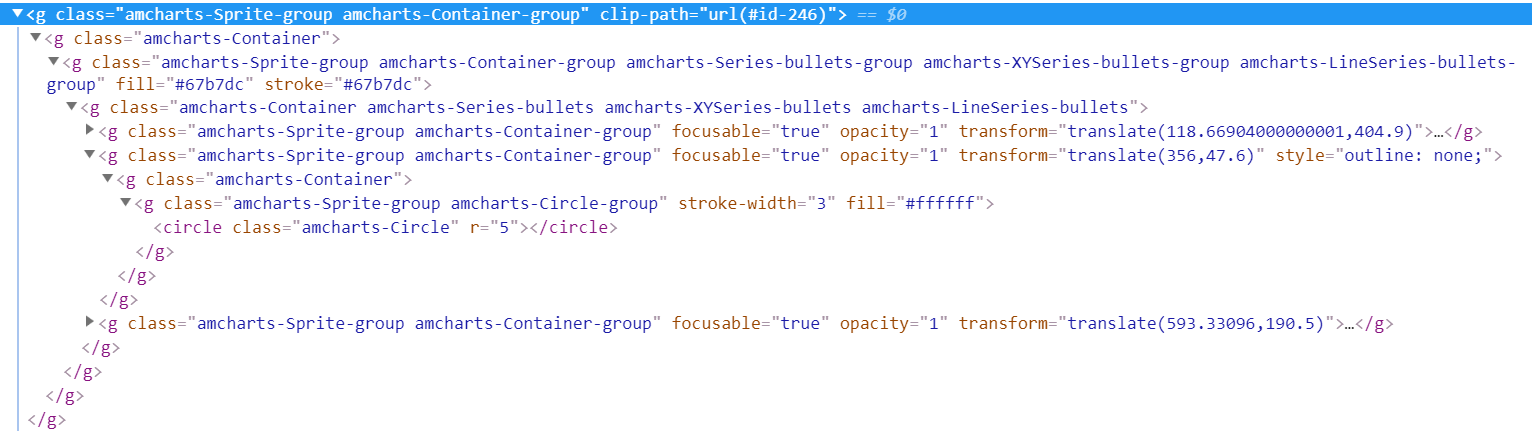
Same chart. Same output. Except every single node has multiple class names identifying their type, which in turn can be targeted via CSS.
Targeting via CSS
Since now all elements have a class name (possible several) identifying its purpose it can be targeted via CSS.
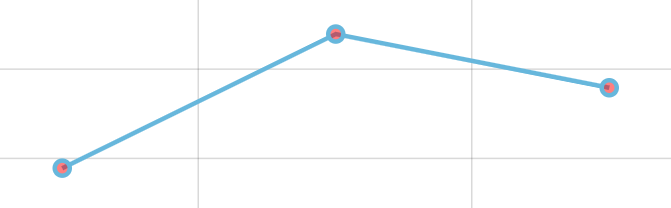
For example, if I want to target all Circle elements on the charts, I could use .amcharts-Circle CSS selector:
.amcharts-Circle {
  fill-opacity: 0.5;
  fill: red!important;
}
Yes, we can even use !important notation to override settings set in SVG!
What's even more cooler, due to hierarchical structure of SVG, we can target elements of some type, that are descendants of some particular other element.
Let's say we don't want to target all circles that might come up on the chart, but only ones that belong to a Line series - bullets.
In this case we can do this:
.amcharts-LineSeries-bullets .amcharts-Circle {
  fill-opacity: 0.5;
  fill: red!important;
}
Or if we want to target only columns of a Column series:
.amcharts-ColumnSeries .amcharts-RoundedRectangle {
  fill-opacity: 0.5;
  fill: red!important;
}
Here's a live example:
See the Pen amCharts 4: Using class names by amCharts team (@amcharts) on CodePen.
Finding element's class names
There's no list, sorry. However, it's easy to find actual class names applied to particular element using browser's inspector.
To open it, right-click with a mouse on the element, then select "Inspect" from the context menu. This should work in all major browsers.
Once that is done, an "Elements" pane opens, revealing internal structure of the SVG, including their class values.
Targeting individual elements
In amCharts 4, you can identify individual elements by setting their id property.
If you do so, and also enable autoSetClassName, besides usual generic class names, the element will also have one that will reflect it's unique id.
For example, let's identify our Category axis with a custom id:
categoryAxis.id = "myCategoryAxis";
categoryAxis.id = "myCategoryAxis";
{
  // ...
  "xAxes": [{
    // ...
    "id": "myCategoryAxis"
  }]
}
Now, if we examine the actual element, we'll see that Category axis now has amcharts-myCategoryAxis class name applied to it.

Class name prefix
By default, all class names have an "amcharts-" prefix applied to them.
To change it, use another global setting: classNamePrefix:
am4core.options.classNamePrefix = "myAwesomeChart";
am4core.options.classNamePrefix = "myAwesomeChart";