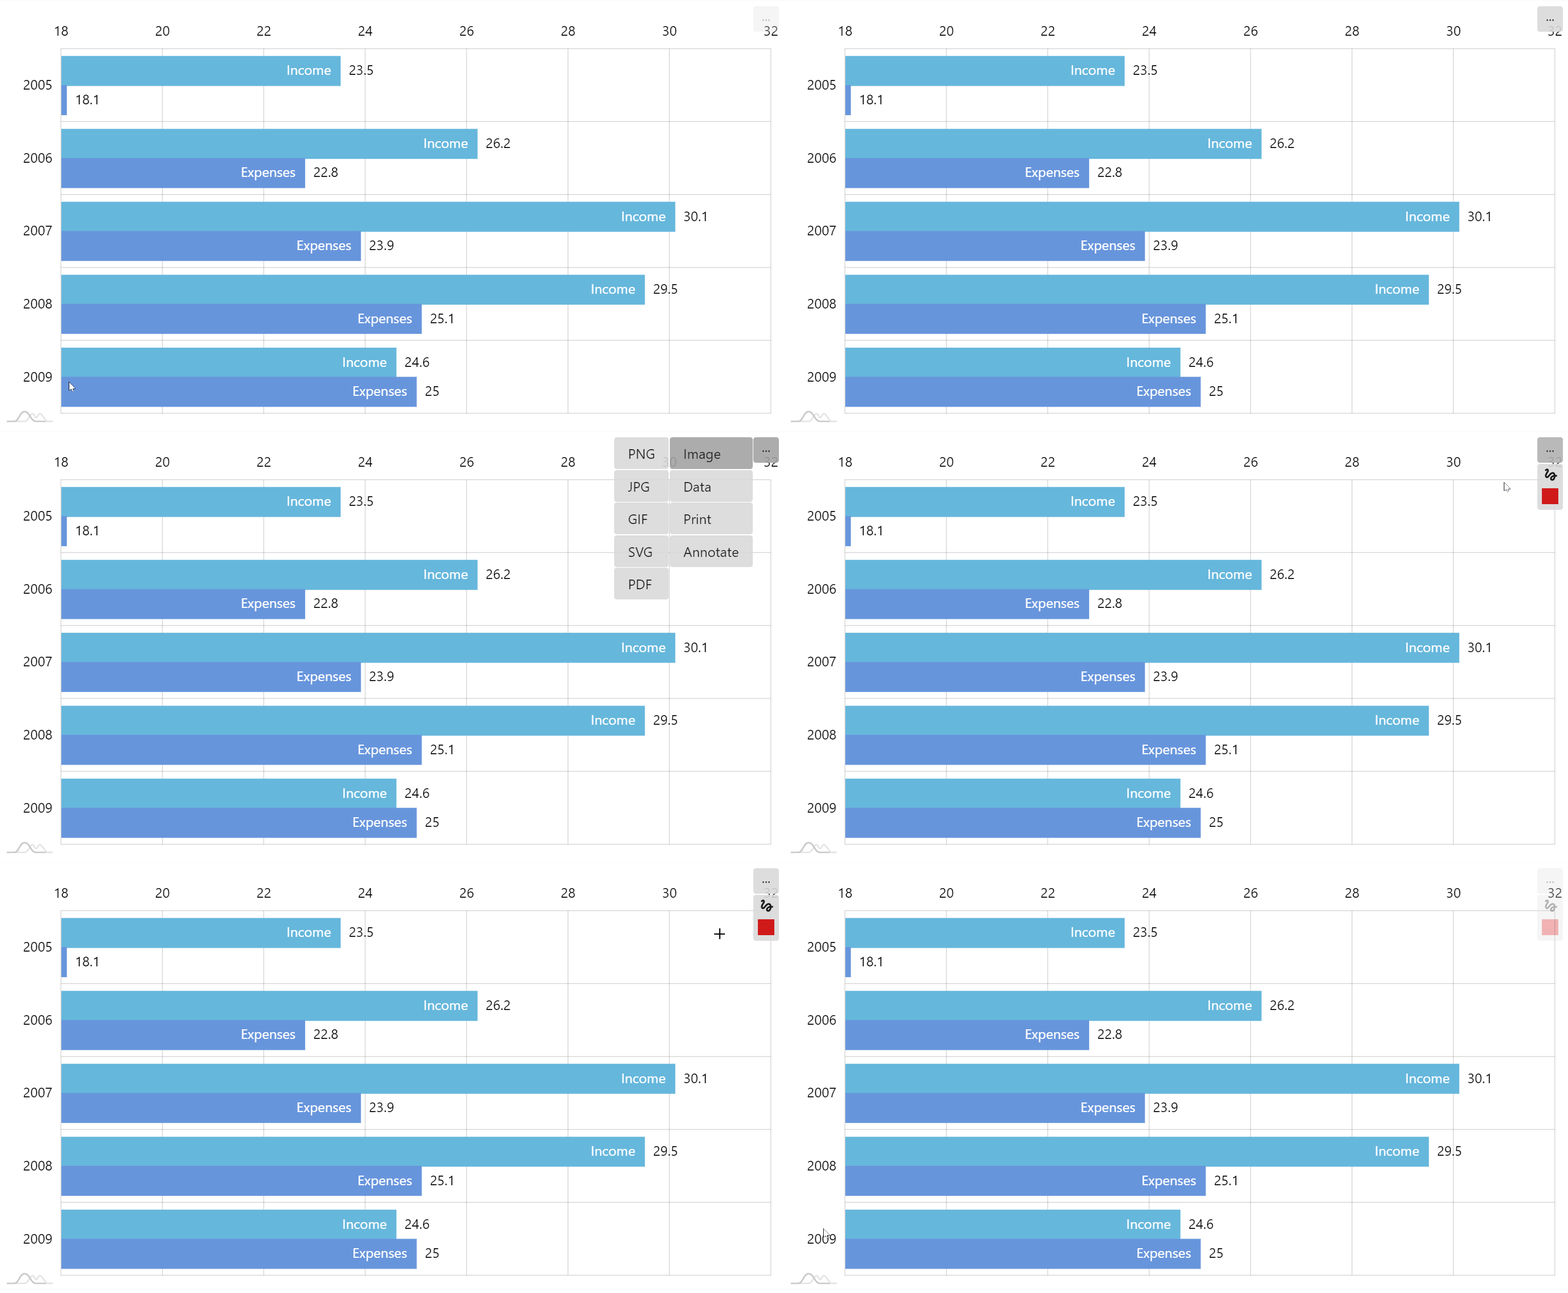
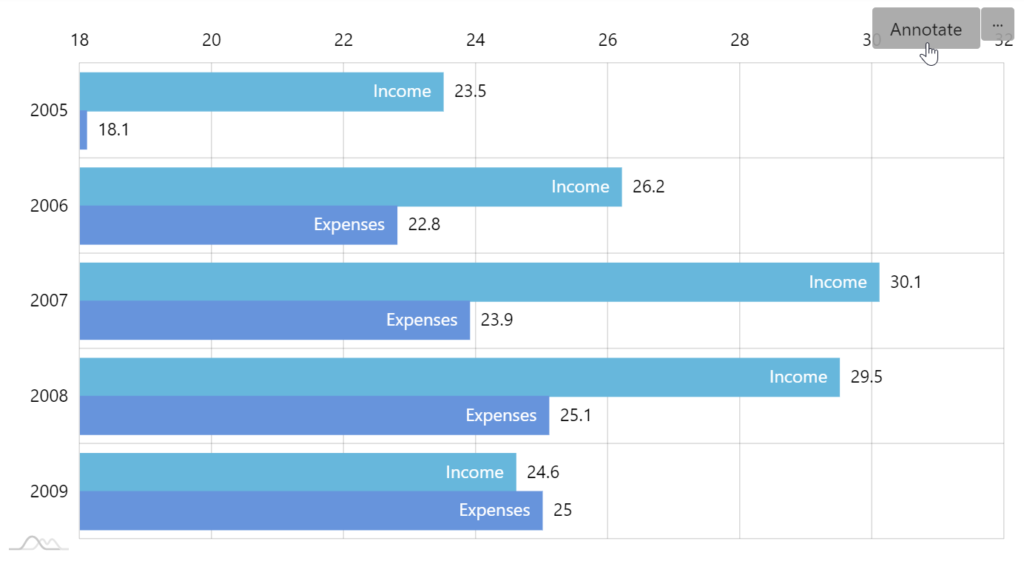
This tutorial will show how you can use Annotation plugin (available since 4.5.5) to, well annotate the charts using some basic UI and tools.
NOTE Annotation is a plugin. For information about using plugins, refer to this article.
Using the plugin
Including the module
Before you can use this plugin you need to make sure you include it.
If you are using it in a TypeScript/ES6 application, you can import it as module. For pure JavaScript applications you'll need to include a .js vesion
import * as am4plugins_annotation from "@amcharts/amcharts4/plugins/annotation";
<script src="//cdn.amcharts.com/lib/4/plugins/annotation.js"></script>
Enabling
The plugin needs to be enabled once, for the whole chart.
It will reuse Export menu to install its own items.
As with any add-on that follows plugin interface, we instantiate an object of plugin class and push it into target object's (in our case series) plugins list.
let annotation = chart.plugins.push(new am4plugins_annotation.Annotation());
var annotation = chart.plugins.push(new am4plugins_annotation.Annotation());
{
  // ...
  "plugins": [{
    "type": "Annotation"
  }]
}
Using
Enabling annotation mode
Annotation plugin uses generic Export menu to add its own tools. It conveniently adds "Annotate" item to the menu. Once pressed, menu changes to reflect annotation mode and provide related toolset.
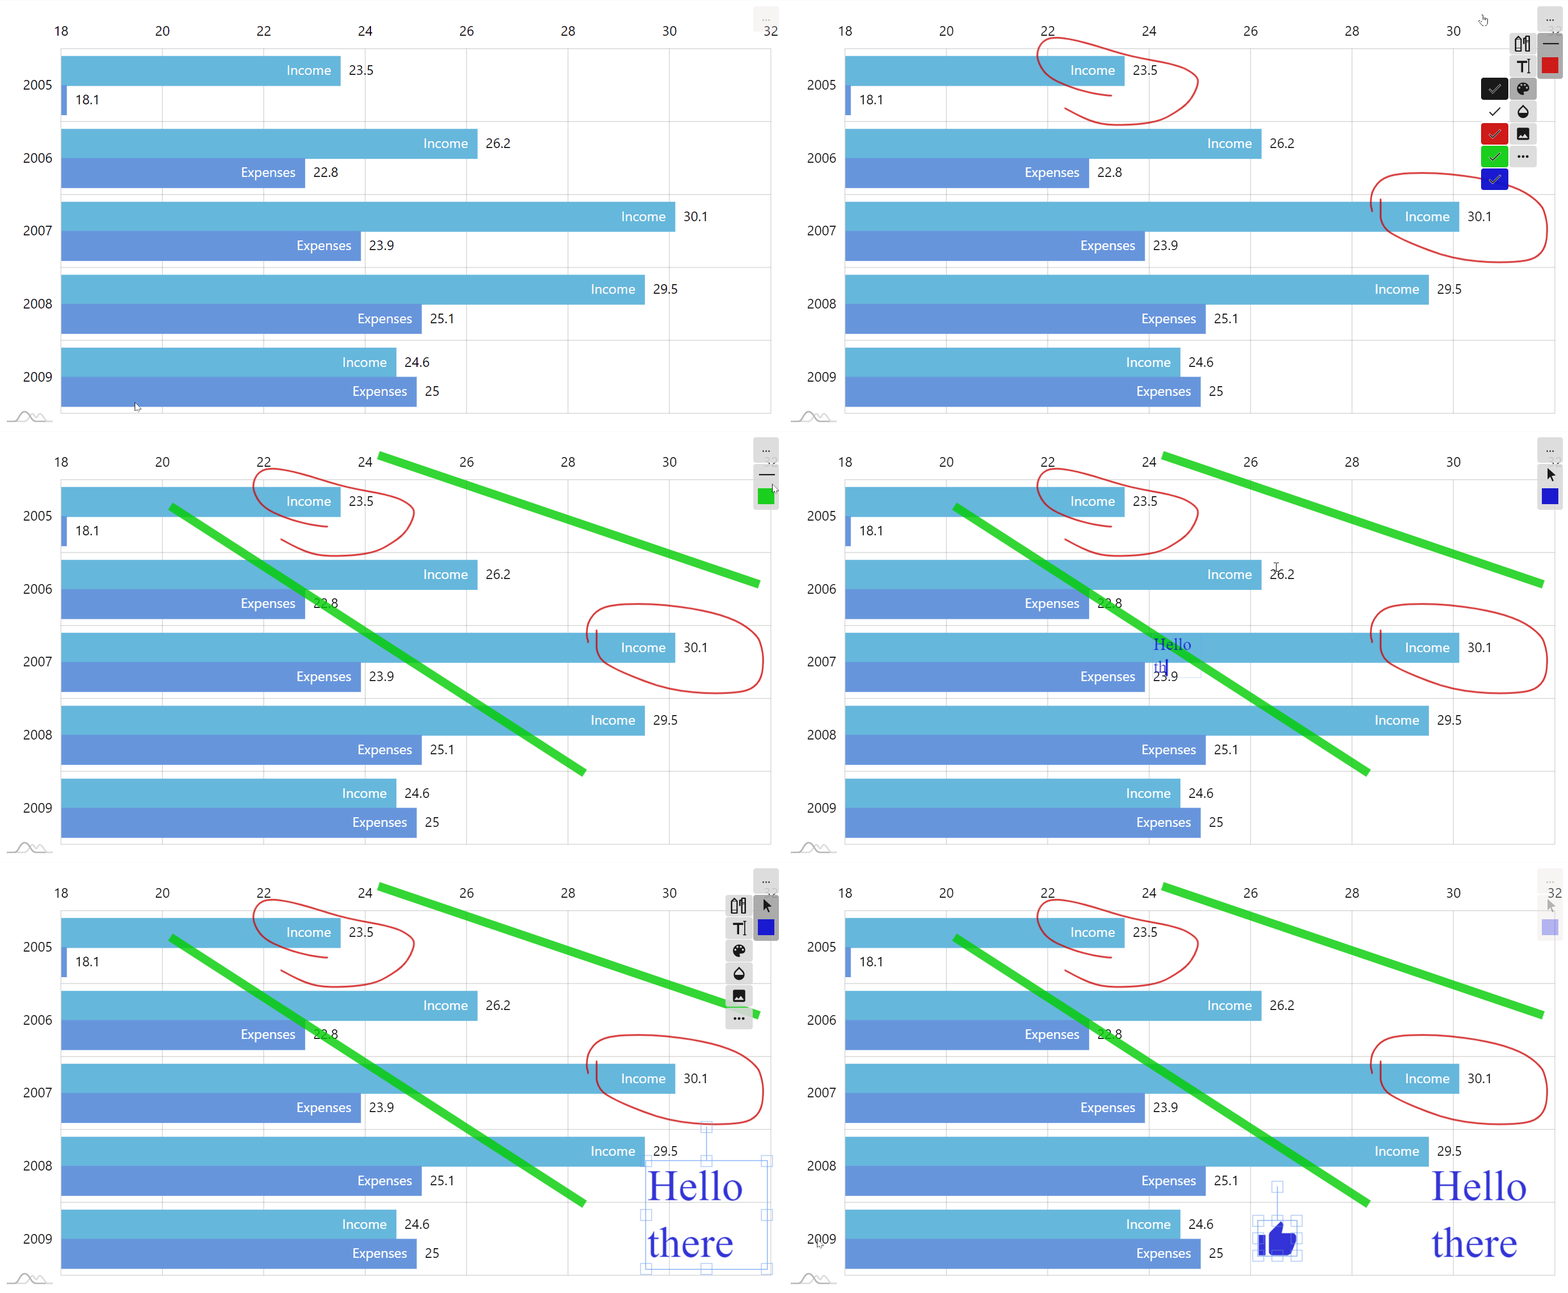
Using annotation menu
Once in annotation mode, a new tool menu becomes active when hovered/tapped on annotation indicator.
The block indicates currently selected tool (draw by default) and current color.
Hovering/tapping on the indicator will bring up tool selection menu.
Use the menu to either select a tool (draw, line, eraser), or add an object to annotation such as text or icon.
Manipulating objects
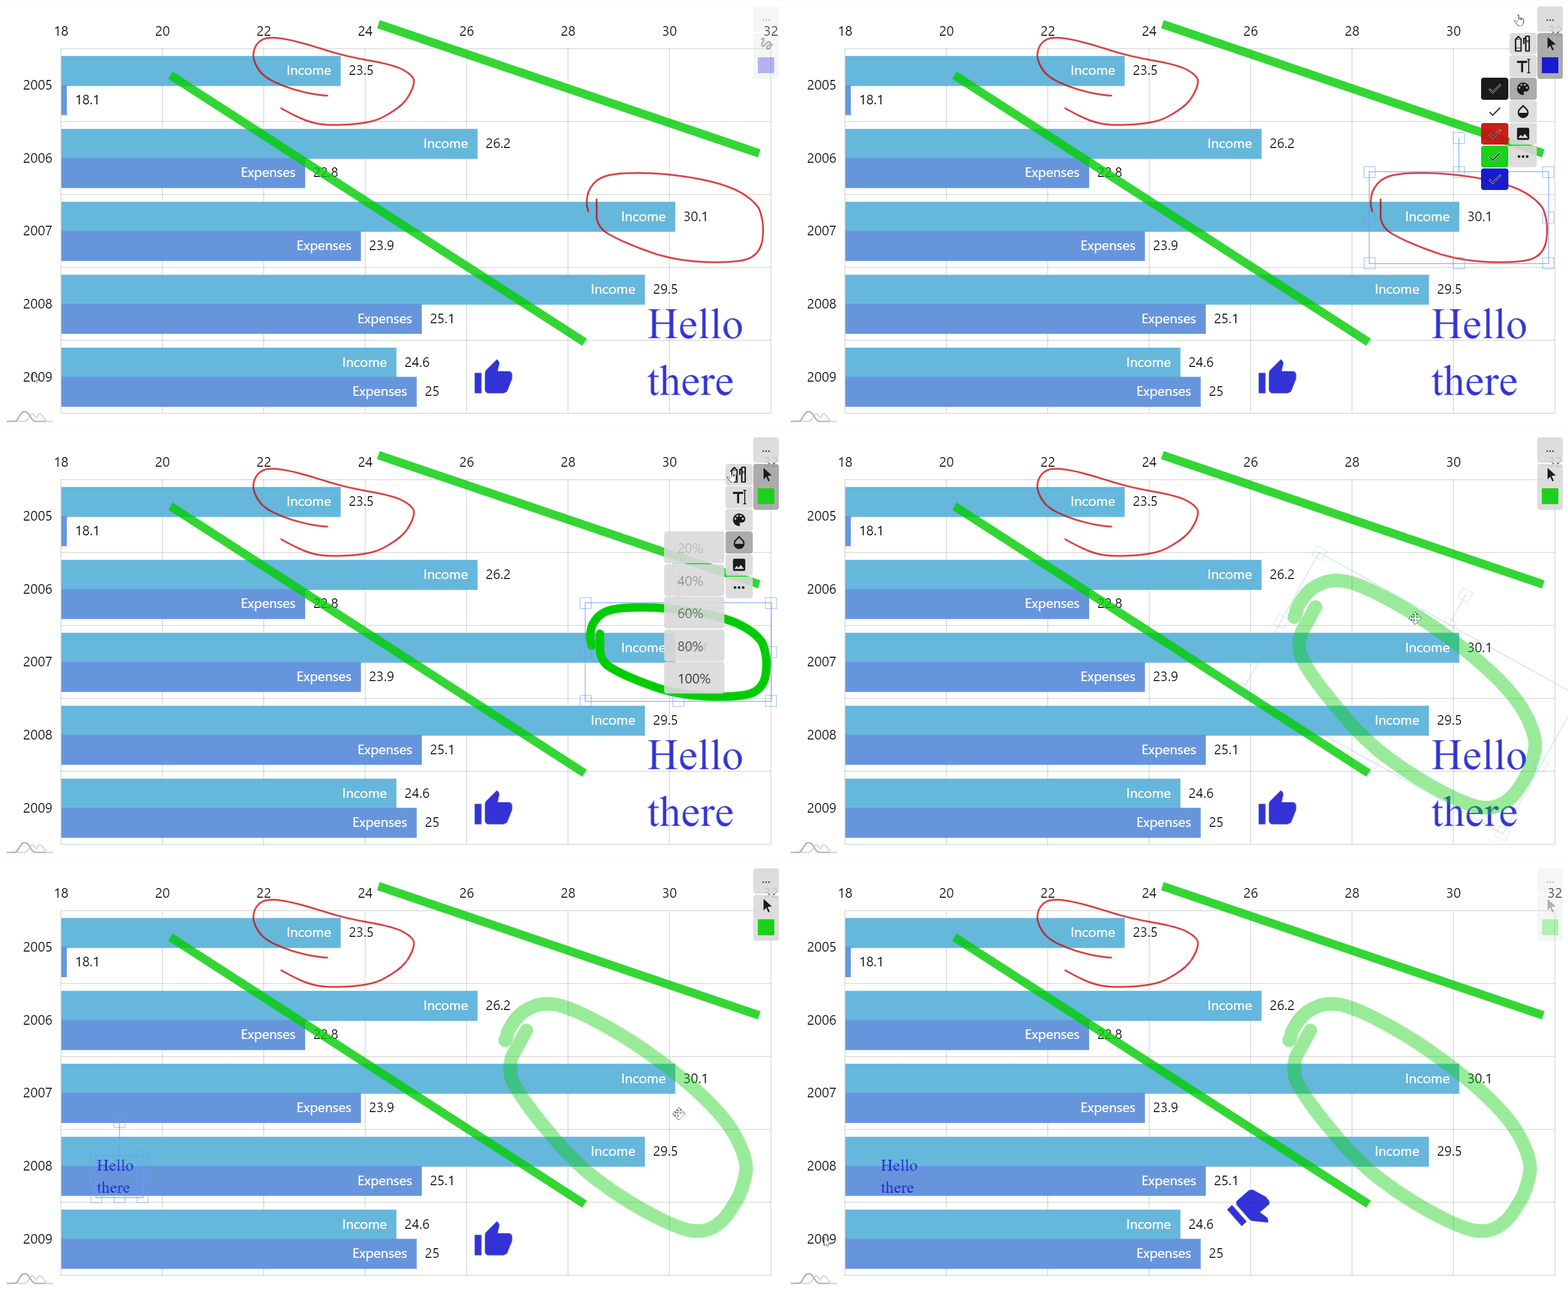
Switching to "select" tool allows selecting any object we have added in annotation mode.
Selected object can be moved, resized, rotated. Its color, opacity and other related properties can be changed by selecting appropriate item from the annotation menu.
Exiting annotation mode
Annotation plugin provides two ways to exit annotation mode: soft exit (annotation remain in place) and reset (all annotations are removed).
Both are accessible via annotation menu's "Other" branch.
Once annotation mode is disabled, the chart itself becomes active again, while annotations remain totally inert.
Annotation editing can be resumed by re-entering annotation mode as described in the beginning of this chapter.
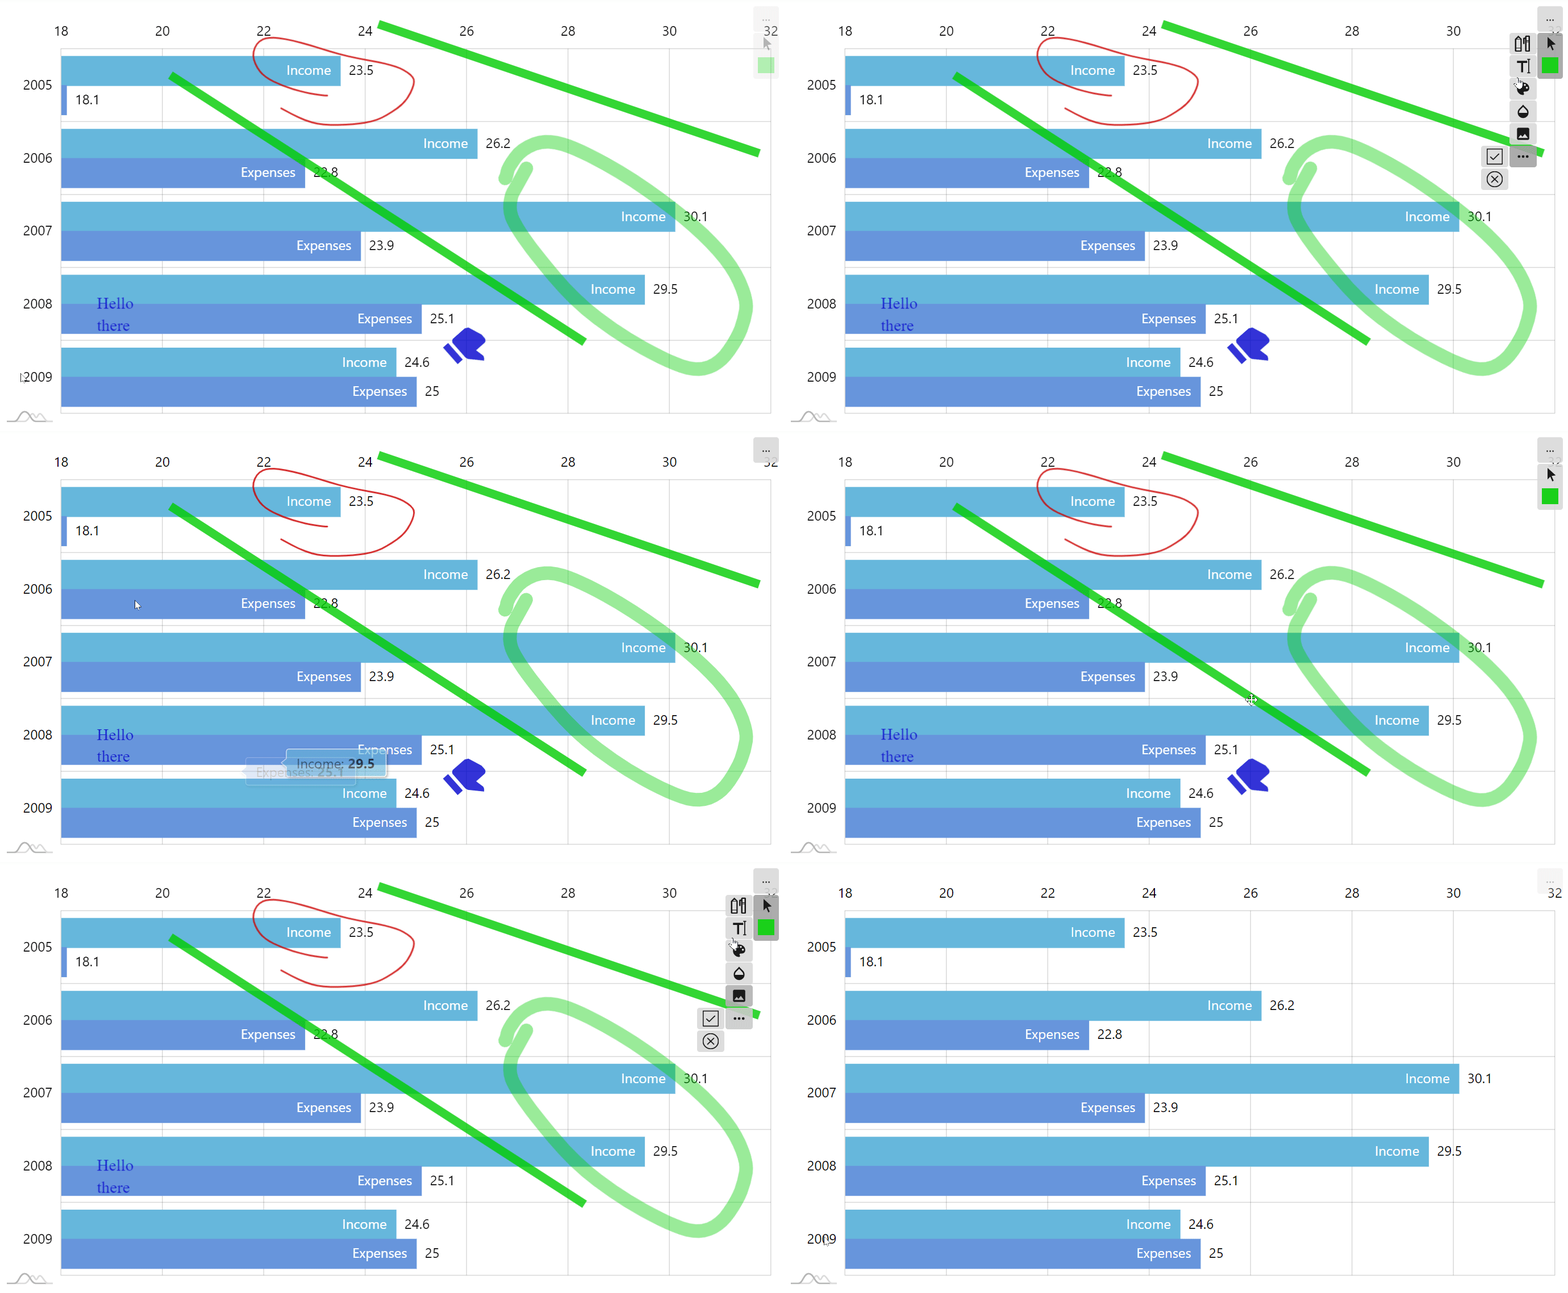
Chart export
Please note that any annotations added to chart will be included into exported chart image.
Example
See the Pen amCharts 4: Annotation by amCharts team (@amcharts) on CodePen.
Configuring
Using with or without export menu
As we mentioned earlier, Annotation plugin is designed to reuse its Export Menu for its operations.
If you don't have Export Menu added to your chart, the plugin will create one for you - without any export options.
If there's already an Export Menu present, the plugin will add it's own items directly to it.
In case you don't want annotation items added to menu (or new menu created), you can set useMenu to false:
anotation.useMenu = false;
anotation.useMenu = false;
{
  // ...
  "plugins": [{
    "type": "Annotation",
    "useMenu": false,
    // ...
  }]
}
In such case, annotation functionality will be available only via plugin's API.
Colors
By default, Annotation gives a selection 5 colors with redish one set as default.
To change available colors use plugin's colors array. To set default color use currentColor.
annotation.colors = [
am4core.color("#091E05"),
am4core.color("#004F2D"),
am4core.color("#D87CAC"),
am4core.color("#F9B9C3"),
am4core.color("#FFDA22")
];
plugin.currentColor = am4core.color("#091E05");
annotation.colors = [
am4core.color("#091E05"),
am4core.color("#004F2D"),
am4core.color("#D87CAC"),
am4core.color("#F9B9C3"),
am4core.color("#FFDA22")
];
plugin.currentColor = am4core.color("#091E05");
{
// ...
"plugins": [{
"type": "Annotation",
"colors": [
"#091E05",
"#004F2D",
"#D87CAC",
"#F9B9C3",
"#FFDA22"
],
"currentColor": "#091E05"
}]
}
To disable color selector, simply set colors to an empty array:
annotation.colors = [];
annotation.colors = [];
{
  // ...
  "plugins": [{
    "type": "Annotation",
    "colors": []
  }]
}
Text options
Similarly, you can set available and default font sizes and weights using: fontSizes and currentFontSize as well as fontWeights and currentFontWeight options respectively.
NOTE Font weights in Annotation is set using their numeric representation, e.g. 100, 300, 800, etc. Named weights like "bold" are not currently supported.
annotation.fontWeights = [200, 400, 800];
annotation.fontSizes = [20, 30];

annotation.currentFontWeight = 800;
annotation.currentFontSize = 20;
annotation.fontWeights = [200, 400, 800];
annotation.fontSizes = [20, 30];

annotation.currentFontWeight = 800;
annotation.currentFontSize = 20;
{
  // ...
  "plugins": [{
    "type": "Annotation",
    "fontWeights": [200, 400, 800],
    "fontSizes": [20, 30],
    "currentFontWeight: 800,
    "currentFontSize": 20
  }]
}
Disabling selectors works same way as with colors: simply set it to an empty array:
annotation.fontWeights = [];
annotation.fontSizes = [];
annotation.fontWeights = [];
annotation.fontSizes = [];
{
  // ...
  "plugins": [{
    "type": "Annotation",
    "fontWeights": [],
    "fontSizes": []
  }]
}
Opacity and line width
Other two settings available via selector tools are opacity and line width.
The former affects absolutely all elements in annotation and is configured via opacities and currentOpacity settings.
The latter affects only draw and line tools. It's configurable via widths and currentWidth settings.
annotation.opacities = [0.3, 0.6, 1];
annotation.weights = [5, 10, 20];

annotation.currentOpacity = 1;
annotation.currentWeight = 20;
annotation.opacities = [0.3, 0.6, 1];
annotation.weights = [5, 10, 20];

annotation.currentOpacity = 1;
annotation.currentWeight = 20;
{
  // ...
  "plugins": [{
    "type": "Annotation",
    "opacities": [0.3, 0.6, 1],
    "weights": [5, 10, 20],
    "currentOpacity: 1,
    "currentWeight": 20
  }]
}
Again, disabling particular selector works by using empty array:
annotation.opacities = [];
annotation.widths = [];
annotation.opacities = [];
annotation.widths = [];
{
  // ...
  "plugins": [{
    "type": "Annotation",
    "opacities": [],
    "widths": []
  }]
}
Using API
Enabling and disabling annotation mode
To enable annotation mode via API, simply call its activate() method.
Similarly, to exit annotation mode use deactivate().
To exit annotation mode deleting all of the added annotations, call discard().
While clear() just removes all annotations but stays in annotation mode.
// Activates annotation mode
annotation.activate();
// Activates annotation mode
annotation.activate();
Setting active tool
You can use plugin object's currentTool property to either check which tool is currently active, or set one yourself.
annotation.currentTool = "select";
annotation.currentTool = "select";
Available tools are as follows: "draw", "select", "line", and "delete".
Serializing and loading annotations
At any point you can access annotation data in a a form of a JavaScript object via plugin's data property.
It later on can be serialized for storage.
To load it back, simply set data again.
// Get annotation data
let annotation_data = annotation.data;

// Load annotations
annotation.data = annotation_data;
// Get annotation data
var annotation_data = annotation.data;

// Load annotations
annotation.data = annotation_data;
Below is a demo that loads annotation that way:
See the Pen amCharts 4: Loading annotation data by amCharts team (@amcharts) on CodePen.
More methods
More available methods and properties are listed in Annotation class reference.
