amCharts 4 comes pre-loaded with extensive chart export functionality. Besides ability to export chart to various image and data formats, it can also export to PDF documents. This tutorial will show, how you can easily tap into this process to include extra information, like text, tables, and even images, into exported PDF.
The task
By default, when chart is exported to PDF, the document includes URL of the page it was exported from as well as snapshot of the chart.
Let's beef that up by including additional stuff:
- Company logo.
- Title.
- Commentary text.
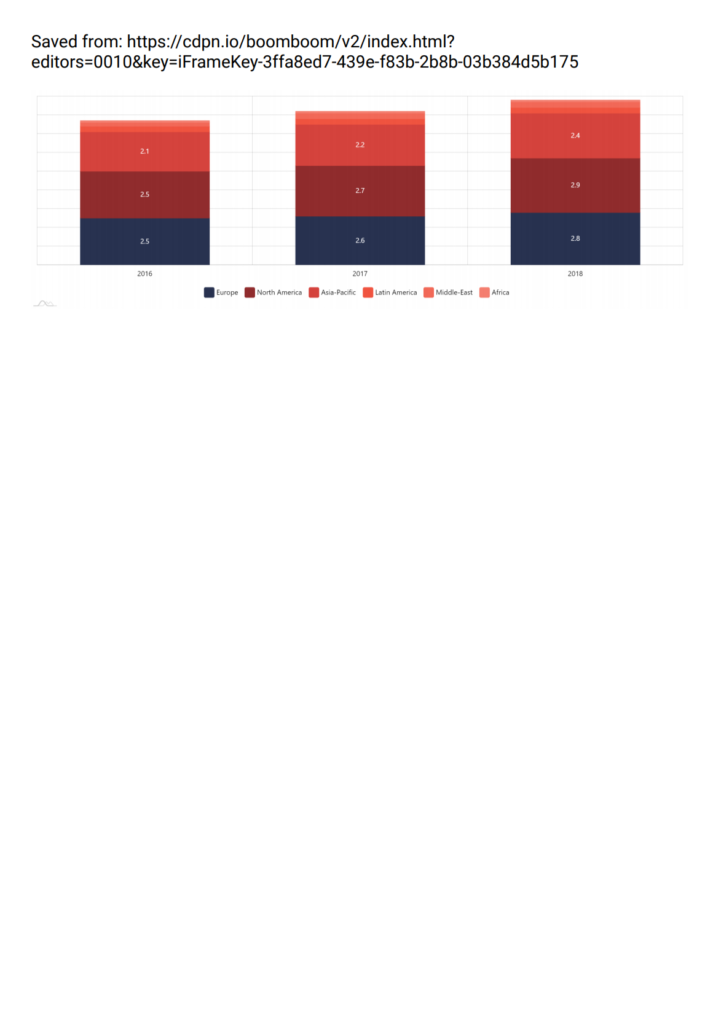
Default PDF look 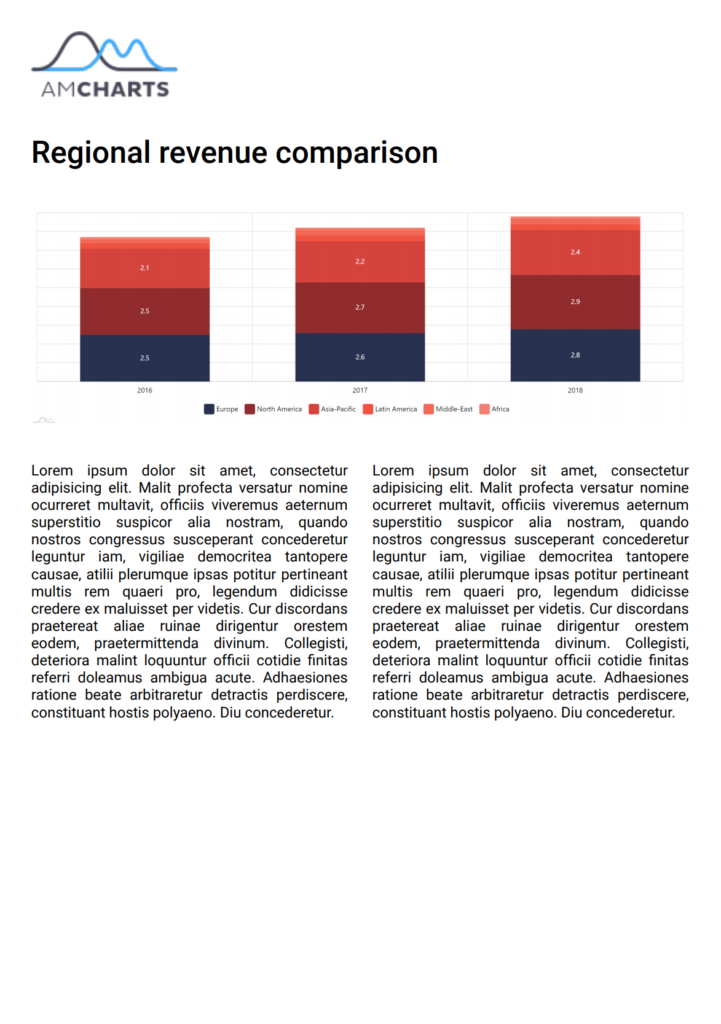
Target look
The solution
Modifying pdfmake doc
amCharts 4 uses a 3rd party library - pdfmake - to generate PDF output.
The process consists of creating a structure object which describes content and layout that needs to go into final PDF.
It's pretty extensive, allowing adding images, columned text, tables, and even images.
amCharts 4 prepares such layout object on every PDF export, then passes it to pdfmake for further processing.
But before it does that, it applies a "pdfmakeDocument" adapter to it.
NOTE An "adapter" is a custom function that can be run to modify some value before it is used. Read more about adapters here.
It looks like this:
chart.exporting.adapter.add("pdfmakeDocument", function(pdf, target) {
  // pdf.doc holds the pdfmake document definition
  // If we want to modify the layout of the PDF, we can modify pdf.doc
  return pdf;
});
chart.exporting.adapter.add("pdfmakeDocument", function(pdf, target) {
  // pdf.doc holds the pdfmake document definition
  // If we want to modify the layout of the PDF, we can modify pdf.doc
  return pdf;
});
{
  // ...
  "exporting": {
    // ...
    "adapter": {
      "pdfmakeDocument", function(pdf, target) {
        // pdf.doc holds the pdfmake document definition
        // If we want to modify the layout of the PDF, we can modify pdf.doc
        return pdf;
      })
    }
  }
}
The document definition file (pdf.doc) contains a property content which is an array consisting of all separate elements that would go into PDF: images, paragraphs, tables, etc.
By default it will contain an "image" block containing chart snapshot.
Let's add our custom blocks to it.
MORE INFO For complete reference on pdfmake document structure read here, or check out their demo playground.
Adding custom title
We want our image to go at the top. So we need to add it to the top of the content array.
We also need to make it bold and bigger, so we'll need to add style block to it.
Finally, we also need padding, so we'll use margin setting.
chart.exporting.adapter.add("pdfmakeDocument", function(pdf, target) {

  // Add title to the beginning
  pdf.doc.content.unshift({
    text: "Regional revenue comparison",
    margin: [0, 30],
    style: {
      fontSize: 25,
      bold: true,
    }
  });

  return pdf;
});
chart.exporting.adapter.add("pdfmakeDocument", function(pdf, target) {

  // Add title to the beginning
  pdf.doc.content.unshift({
    text: "Regional revenue comparison",
    margin: [0, 30],
    style: {
      fontSize: 25,
      bold: true,
    }
  });

  return pdf;
});
{
  // ...
  "exporting": {
    // ...
    "adapter": {
      "pdfmakeDocument", function(pdf, target) {

        // Add title to the beginning
        pdf.doc.content.unshift({
           text: "Regional revenue comparison",
           margin: [0, 30],
           style: {
             fontSize: 25,
             bold: true,
           }
        });

        return pdf;
      })
    }
  }
}
Adding image logo
Just like we added text block, we can add image block. (info)
Now there's one caveat: we can't just plop a URL to an image somewhere in the web and expect pdfmake to grab it for us.
We need to provide in a "data: uri" format. (more info)
Luckily, there are a lot of tools out there that can convert your image file or URL into a data uri.
Let's use this one to convert amCharts logo into a data uri, then add it to pdf document structure.
chart.exporting.adapter.add("pdfmakeDocument", function(pdf, target) {

  // ...

  // Add logo
  pdf.doc.content.unshift({
    image: "data:image/png;base64,...", // actual content removed
    fit: [119, 54]
  });

  return pdf;
});
chart.exporting.adapter.add("pdfmakeDocument", function(pdf, target) {

  // ...

  // Add logo
  pdf.doc.content.unshift({
    image: "data:image/png;base64,...", // actual content removed
    fit: [119, 54]
  });

  return pdf;
});
{
  // ...
  "exporting": {
    // ...
    "adapter": {
      "pdfmakeDocument", function(pdf, target) {

        // ...

        // Add logo
        pdf.doc.content.unshift({
          image: "data:image/png;base64,...", // actual content removed
          fit: [119, 54]
        });

        return pdf;
      })
    }
  }
}
Notice fit block? It indicates dimensions to which the image should be resized to fit.
Adding paragraph
If we wanted to just add a full-length text here, we could use a text block, just like with the title.
However, we want our text to be in two columns, so we will use columns block. (info)
chart.exporting.adapter.add("pdfmakeDocument", function(pdf, target) {

  // ...

  // Add a two-column intro
  pdf.doc.content.push({
    alignment: 'justify',
    columns: [{
      text: 'Lorem ipsum ...'
    }, {
      text: 'Lorem ipsum ...'
    }],
    columnGap: 20,
    margin: [0, 30]
  });

  return pdf;
});
{
  // ...
  "exporting": {
    // ...
    "adapter": {
      "pdfmakeDocument", function(pdf, target) {

        // ...

        // Add a two-column intro
        pdf.doc.content.push({
          alignment: 'justify',
          columns: [{
            text: 'Lorem ipsum ...'
          }, {
            text: 'Lorem ipsum ...'
          }],
          columnGap: 20,
          margin: [0, 30]
        });

        return pdf;
      })
    }
  }
}
Notice two additional settings we have here: columnGap and alignment. Those are pretty self-explanatory.
Removing URL
Technically, we could remove it by finding it's entry in pdf.doc.content then removing it.
However, there's a PDF export option for that:
// Do not add URL
chart.exporting.getFormatOptions("pdf").addURL = false;
// Do not add URL
chart.exporting.getFormatOptions("pdf").addURL = false;
{
  // ...
  "exporting": {
    // ...
    "callback": function() {
      this.getFormatOptions("pdf").addURL = false;
    }
  }
}
Example
Here's a final example of the above. Try exporting it to PDF.
See the Pen amCharts 4: Adding additional information to PDF export by amCharts team (@amcharts) on CodePen.
Final word
We strongly suggest reviewing pdfmake documentation and its playground.
There are a lot more stuff you can add to your PDF docs and a lot more styling options than we touched in this brief tutorial.