This extensive tutorial will show how you can use pdfmake library, which is bundled with amCharts, to generate full page, multi-content report PDF documents.
Disclaimer
Majority of this tutorial is based on using pdfmake. It's an excellent third party library enabling generating PDF documents in JavaScript. Our aim is to walk you through basics of using pdfmake. For advanced usage, support, and community head over to pdfmake page.
The task
To start with, let's say we want to generate something like this:
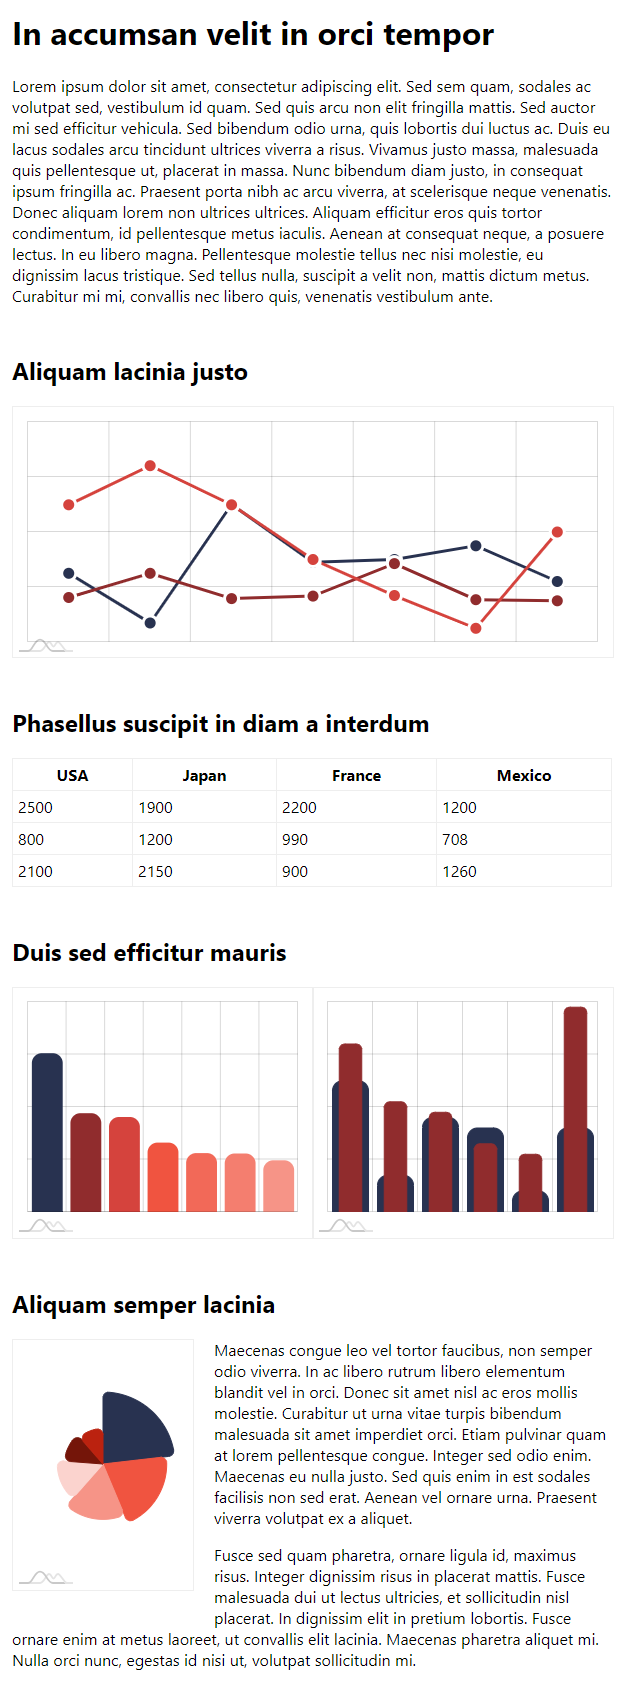
An here's a live version:
See the Pen amCharts 4: Multi-content export by amCharts team (@amcharts) on CodePen.
Building a PDF
Preparing
Let's create a function, that will handle the exporting. It can be invoked with a press of a button, or on some other event.
function savePDF() {
  // This is where the magic will be happening
}
function savePDF() {
  // This is where the magic will be happening
}
Getting a pdfmake object
You already know that we will be using pdfmake to build our PDF.
Since amCharts 4 already has pdfmake bundled in, you don't need to add any other includes or dependencies.
We can get that object right out of any amCharts object:
function savePDF() {
  chart.exporting.pdfmake.then(function(pdfmake) {
     // pdfmake is ready
     // ...
  );
}
function savePDF() {
  chart.exporting.pdfmake.then(function(pdfmake) {
     // pdfmake is ready
     // ...
  );
}
Since pdfmake is loaded dynamically on-demand, the async accessor chart.exporting.pdfmake returns a Promise, not the object itself. This is why we are using then() clause, which kicks in when pdfmake is loaded and ready.
All of the subsequent code in this tutorial will go inside this promise handler.
Chart snapshots
Besides getting pdfmake object we have a few other asynchronous operations on our hands: getting snapshots of all the charts.
This is done via chart export's getImage() method. Just like pdfmake accessor, it returns a Promise.
Since we need all of those to create a document, let's combine all of them into a single Promise.all call.
function savePDF() {
  Promise.all([
    chart.exporting.pdfmake,
    chart.exporting.getImage("png"),
    chart2.exporting.getImage("png"),
    chart3.exporting.getImage("png"),
    chart4.exporting.getImage("png")
  ], function(res) {
     // pdfmake and chart snapshots are ready
     // res[0] contains pdfmake instance
     // res[1] contains shapshot of chart 1
     // etc.
     let pdfMake = res[0];
  );
}
function savePDF() {
  Promise.all([
    chart.exporting.pdfmake,
    chart.exporting.getImage("png"),
    chart2.exporting.getImage("png"),
    chart3.exporting.getImage("png"),
    chart4.exporting.getImage("png")
  ], function(res) {
     // pdfmake and chart snapshots are ready
     // res[0] contains pdfmake instance
     // res[1] contains shapshot of chart 1
     // etc.
     var pdfMake = res[0];
  );
}
MORE INFO For more about getting chart snapshots read here. To learn about Promise.all check this MDN article.
Document definition
Now that we have all of our async stuff loaded and ready, let's create a PDF document definition.
pdfmake uses a structured JavaScript object to describe the documents:
// pdfmake is ready
// Create document template
let doc = {
  pageSize: "A4",
  pageOrientation: "portrait",
  pageMargins: [30, 30, 30, 30],
  content: []
};
// pdfmake is ready
// Create document template
var doc = {
  pageSize: "A4",
  pageOrientation: "portrait",
  pageMargins: [30, 30, 30, 30],
  content: []
};
As you may already guessed, all content that needs to go into PDF document will be included as objects into content array.
MORE INFO The document definition is described in great detail in pdfmake documentation. Make sure you read it for much more usage tips and options.
Headers and text
Now that we have our (blank) PDF document definition object ready, let's add some text to it.
doc.content.push({
  text: "In accumsan velit in orci tempor",
  fontSize: 20,
  bold: true,
  margin: [0, 20, 0, 15]
});

doc.content.push({
  text: "Lorem ipsum dolor sit amet, consectetur adipiscing elit...",
  fontSize: 15,
  margin: [0, 0, 0, 15]
});
doc.content.push({
  text: "In accumsan velit in orci tempor",
  fontSize: 20,
  bold: true,
  margin: [0, 20, 0, 15]
});

doc.content.push({
  text: "Lorem ipsum dolor sit amet, consectetur adipiscing elit...",
  fontSize: 15,
  margin: [0, 0, 0, 15]
});
NOTE The margins in pdfmake margin definition do not start with top as in CSS, but rather from left and go clockwise: left, top, right bottom.
MORE INFO For more information and options for adding text read here.
Charts
Adding images is similar to text.
We already have snapshots of our charts in res array, so we can start pushing those into document content.
doc.content.push({
  image: res[1],
  width: 530
});
doc.content.push({
  image: res[1],
  width: 530
});
width is important. Without it, your image might not fit into the page. The full width of the A4 page is 595.28 (Letter is 612).
Make sure you take document's margins into account when calculating allowed image width.
MORE INFO For more info about adding images read here.
Tables
Now, let's add a table.
doc.content.push({
  table: {
    headerRows: 1,
    widths: [ "*", "*", "*", "*" ],
    body: [
      [
        { text: "USA", bold: true },
        { text: "Japan", bold: true },
        { text: "France", bold: true },
        { text: "Mexico", bold: true }
      ],
      [ "2500", "2500", "2200", "1200" ],
      [ "800", "1200", "990", "708" ],
      [ "2100", "2150", "900", "1260" ],
    ]
  }
});
MORE INFO This page in pdfmake documentation has more details about adding and formatting tables.
Columns
Next up: two charts set side by side.
For that we'll need to utilize content columns.
doc.content.push({
  columns: [{
    image: res[2],
    width: 250
  }, {
    image: res[3],
    width: 250
  }],
  columnGap: 30
});
doc.content.push({
  columns: [{
    image: res[2],
    width: 250
  }, {
    image: res[3],
    width: 250
  }],
  columnGap: 30
});
Columns work like mini-content: you just add regular content definition objects, except they will be laid out horizontally next to each other.
We can add any content to columns, mix and match them, like for example image and text:
doc.content.push({
  columns: [{
    image: res[4],
    width: 150
  }, {
    stack: [{
     text: "Maecenas congue leo vel tortor faucibus, non semper odio viverra...",
      fontSize: 15,
      margin: [0, 0, 0, 15]
    }, {
     text: "Fusce sed quam pharetra, ornare ligula id, maximus risus...",
      fontSize: 15,
      margin: [0, 0, 0, 15]
    }],
    width: "*"
  }],
  columnGap: 30
});
MORE INFO As usual, more details and options in pdfmake docs: columns and stacks of paragraphs.
Download & print
That's it. We're done configuring our document. Let's trigger download.
pdfmake has that included:
pdfMake.createPdf(doc).download("report.pdf");
pdfMake.createPdf(doc).download("report.pdf");
Or if we'd like to print it:
pdfMake.createPdf(doc).print();
pdfMake.createPdf(doc).print();
MORE INFO For more options about how to handle final PDF document read this page of pdfmake documentation.
Full example
See the Pen amCharts 4: Multi-content export by amCharts team (@amcharts) on CodePen.