This tutorial looks at configuration options for export of charts to PDF documents with Exporting plugin.
Page options
We can set page format, orientation, and margins via pdfOptions setting.
The following options are available:
| Option | Default | Available values |
|---|---|---|
pageSize | "A4" | "4A0", "2A0", "A0", "A1", "A2", "A3", "A4", "A5", "A6", "A7", "A8", "A9", "A10", "B0", "B1", "B2", "B3", "B4", "B5", "B6", "B7", "B8", "B9", "B10", "C0", "C1", "C2", "C3", "C4", "C5", "C6", "C7", "C8", "C9", "C10", "RA0", "RA1", "RA2", "RA3", "RA4", "SRA0", "SRA1", "SRA2", "SRA3", "SRA4", "EXECUTIVE", "FOLIO", "LEGAL", "LETTER", "TABLOID". |
pageOrientation | "portrait" | "portrait", "landscape". |
pageMargins | [30, 30, 30, 30] | A single number, in which case it will act as margin setting for all four edges of the page. An array of two numbers [ horizontal, vertical ].An array of four numbers [ left, top, right, bottom ]. |
let exporting = am5plugins_exporting.Exporting.new(root, {
  menu: am5plugins_exporting.ExportingMenu.new(root, {}),
  pdfOptions: {
    pageSize: "LETTER",
    pageOrientation: "landscape",
    pageMargins: [20, 20, 20, 40]
  }
});
var exporting = am5plugins_exporting.Exporting.new(root, {
  menu: am5plugins_exporting.ExportingMenu.new(root, {}),
  pdfOptions: {
    pageSize: "LETTER",
    pageOrientation: "landscape",
    pageMargins: [20, 20, 20, 40]
  }
});
Image options
Export will use PNG format to generate an image to include into PDF.
We can change that using imageFormat option:
let exporting = am5plugins_exporting.Exporting.new(root, {
  menu: am5plugins_exporting.ExportingMenu.new(root, {}),
  pdfOptions: {
    imageFormat: "jpg"
  }
});
var exporting = am5plugins_exporting.Exporting.new(root, {
  menu: am5plugins_exporting.ExportingMenu.new(root, {}),
  pdfOptions: {
    imageFormat: "jpg"
  }
});
Choosing specific format will also mean that specific image format options will be used to generate snapshot: pngOptions for PNG and jpgOptions for JPEG.
Extra info
Title
If we'd like some title to be added at the top of the PDF document we can do so via title setting. Please note that it's a plugin setting, on a format option in pdfOptions:
let exporting = am5plugins_exporting.Exporting.new(root, {
  menu: am5plugins_exporting.ExportingMenu.new(root, {}),
  title: "My awesome chart",
});
var exporting = am5plugins_exporting.Exporting.new(root, {
  menu: am5plugins_exporting.ExportingMenu.new(root, {}),
  title: "My awesome chart",
});
Data
We can also make the PDF include a table of data via includeData option:
let exporting = am5plugins_exporting.Exporting.new(root, {
  menu: am5plugins_exporting.ExportingMenu.new(root, {}),
  data: data,
  title: "My awesome chart",
  pdfOptions: {
    includeData: true
  }
});
var exporting = am5plugins_exporting.Exporting.new(root, {
  menu: am5plugins_exporting.ExportingMenu.new(root, {}),
  data: data,
  title: "My awesome chart",
  pdfOptions: {
    includeData: true
  }
});
Source URL
PDF will also include a "Saved from... " header, to indicated the address of the web page PDF was exported on.
We can disable it by setting addURL option to false:
let exporting = am5plugins_exporting.Exporting.new(root, {
  menu: am5plugins_exporting.ExportingMenu.new(root, {}),
  data: data,
  title: "My awesome chart",
  pdfOptions: {
    includeData: true,
    addURL: false
  }
});
var exporting = am5plugins_exporting.Exporting.new(root, {
  menu: am5plugins_exporting.ExportingMenu.new(root, {}),
  data: data,
  title: "My awesome chart",
  pdfOptions: {
    includeData: true,
    addURL: false
  }
});
Fonts
The core functionality of the PDF export includes only Latin fonts. That means that exported text in non-Latin alphabets will come out garbled.
That affects only actual text added to the exported PDF, such as title or data.
To fix that, we offer additional font package you can download, install, or load off of CDN: PDF font package.
Loading fonts
NPM package
To get all available fonts, install the @amcharts/amcharts5-fonts package:
npm install @amcharts/amcharts5-fonts
Then you can access each specific font as a module:
import am5fonts_notosans_kr from "@amchats/amcharts5-fonts/notosans-kr";
JavaScript script
Font files are provided in plain JS files that you can load using <script> tags:
<script src="https://cdn.amcharts.com/lib/5/fonts/notosans-kr.js"></script>
The file will create a global variable am5fonts_notosans_kr which you can use later in the code.
The above example uses amCharts CDN to load font file. You can also download font package from amCharts Downloads page.
List of available fonts
| Font | Language | Global variable |
|---|---|---|
| Cairo | Arabic | am5fonts_cairo_arabic |
| NotoSans JP | Japanese | am5fonts_notosans_jp |
| NotoSans KR | Korean | am5fonts_notosans_kr |
| NotoSans SC | Simplified Chinese | am5fonts_notosans_sc |
| NotoSans TC | Traditional Chinese | am5fonts_notosans_tc |
| OpenSans | Cyrilic | am5fonts_pensans_cyrilic |
| Rubik | Hebrew | am5fonts_rubik_hebrew |
| Sarabun | Thai | am5fonts_sarabun_thai |
Using loaded fonts
To use loaded font, use font setting of the exporting plugin object:
let exporting = am5plugins_exporting.Exporting.new(root, {
  menu: am5plugins_exporting.ExportingMenu.new(root, {}),
  title: "나의 멋진 차트",
  pdfOptions: {
    includeData: true,
    font: am5fonts_notosans_kr
  }
});
var exporting = am5plugins_exporting.Exporting.new(root, {
  menu: am5plugins_exporting.ExportingMenu.new(root, {}),
  title: "나의 멋진 차트",
  pdfOptions: {
    includeData: true,
    font: am5fonts_notosans_kr
  }
});
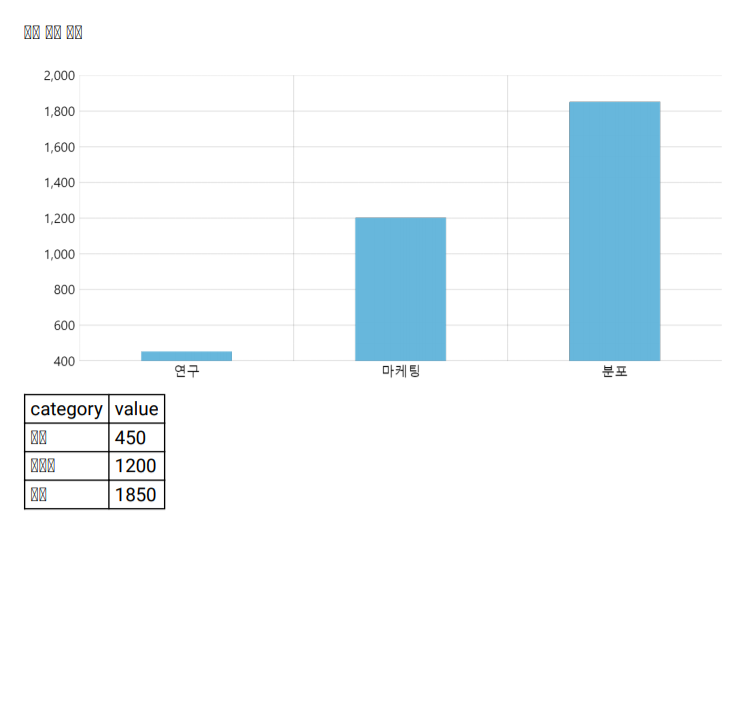
font not set (default)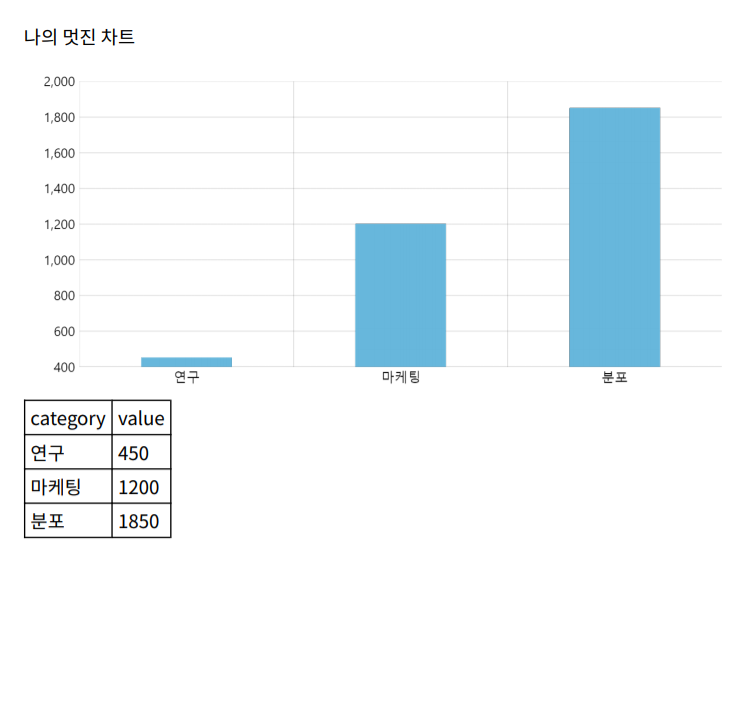
font: am5fonts_notosans_krSee the Pen Custom PDF export by amCharts team (@amcharts) on CodePen.
Using multiple fonts
If our export contains multiple languages, we can add additional PDF fonts via extraFonts option:
let exporting = am5plugins_exporting.Exporting.new(root, {
  menu: am5plugins_exporting.ExportingMenu.new(root, {}),
  title: "나의 멋진 차트",
  pdfOptions: {
    includeData: true,
    font: am5fonts_notosans_kr,
    extraFonts: [
      am5fonts_notosans_jp,
      am5fonts_notosans_sc
    ]
  }
});
var exporting = am5plugins_exporting.Exporting.new(root, {
  menu: am5plugins_exporting.ExportingMenu.new(root, {}),
  title: "나의 멋진 차트",
  pdfOptions: {
    includeData: true,
    font: am5fonts_notosans_kr,
    extraFonts: [
      am5fonts_notosans_jp,
      am5fonts_notosans_sc
    ]
  }
});
Customizing PDF document
Export plugin uses a 3rd party library - pdfmake - to generate PDF documents.
Export to PDF operation builds a pdfmake document, populates it with chart image and/or data table, as well as additional elements, like title and source URL.
It also decorates the document with options like page format, margins, font settings.
Before prepared PDF document is converted to actual PDF file and downloaded to user, an event is invoked: pdfdocready.
At this point we have an opportunity to modify pdfmake document any way we want:
exporting.events.on("pdfdocready", function(event) {
  // Modify event.doc which is a pdfmake document
  // ...
});
exporting.events.on("pdfdocready", function(event) {
  // Modify event.doc which is a pdfmake document
  // ...
});
The document definition (event.doc) contains a property content which is an array consisting of all separate elements that would go into PDF: images, paragraphs, tables, etc.
By default it will contain an "image" block containing chart snapshot.
Custom blocks can be added to content.
MORE INFO For complete reference on pdfmake document structure read here, or check out their demo playground.
Adding custom title
We want our image to go at the top. So we need to add it to the top of the content array.
We also need to make it bold and bigger, so we'll need to add style block to it.
Finally, we also need padding, so we'll use margin setting.
exporting.events.on("pdfdocready", function(event) {

  // Add title to the beginning
  event.doc.content.unshift({
    text: "Regional revenue comparison",
    margin: [0, 30],
    style: {
      fontSize: 25,
      bold: true,
    }
  });

});
exporting.events.on("pdfdocready", function(event) {

  // Add title to the beginning
  event.doc.content.unshift({
    text: "Regional revenue comparison",
    margin: [0, 30],
    style: {
      fontSize: 25,
      bold: true,
    }
  });

});
Adding image logo
Just like we added text block, we can add image block.
Image needs to be provided in a data: uri format.
There are a lot of tools out there that can convert your image file or URL into a data: uri. For example: this one.
exporting.events.on("pdfdocready", function(event) {

  // ...

  // Add logo
  event.doc.content.unshift({
    image: "data:image/png;base64,...", // actual content removed
    fit: [119, 54]
  });

});
exporting.events.on("pdfdocready", function(event) {

  // ...

  // Add logo
  event.doc.content.unshift({
    image: "data:image/png;base64,...", // actual content removed
    fit: [119, 54]
  });

});
Notice fit block? It indicates dimensions to which the image should be resized to fit.
Adding paragraph
To add columned text, we can use columns block.
exporting.events.on("pdfdocready", function(event) {

  // ...

  // Add a two-column intro
  event.doc.content.push({
    alignment: 'justify',
    columns: [{
      text: 'Lorem ipsum ...'
    }, {
      text: 'Lorem ipsum ...'
    }],
    columnGap: 20,
    margin: [0, 30]
  });

});
exporting.events.on("pdfdocready", function(event) {

  // ...

  // Add a two-column intro
  event.doc.content.push({
    alignment: 'justify',
    columns: [{
      text: 'Lorem ipsum ...'
    }, {
      text: 'Lorem ipsum ...'
    }],
    columnGap: 20,
    margin: [0, 30]
  });

});
Notice two additional settings we have here: columnGap and alignment. Those are pretty self-explanatory.
See the Pen Exporting data with custom menu by amCharts team (@amcharts) on CodePen.
Note about pdfmake
amCharts 5 Exporting plugin uses pdfmake library for PDF document generation. Starting with version 5.18.0, amCharts 5 now bundles and uses pdfmake 0.3 (was 0.2) which introduces some breaking changes to the API.
If you are just using amCharts 5 Exporting API, you don't need to do anything.
If you are accessing pdfmake object directly to use its API, please read here.